StereoPi v2 mechanics
Jump to navigation
Jump to search

Contents
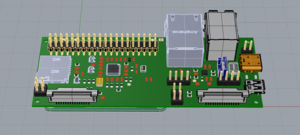
StereoPi v2 3D model

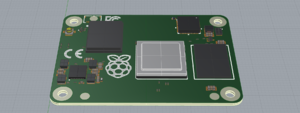
Compute Module 4 3D model
Please note, that our StereoPi v2 model includes simplified drawings of Compute Module 4.
To get detailed modules, use these files from the Raspberry Pi website:

PoE shield for StereoPi v2 model

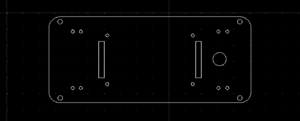
StereoPi V2 Camera Kit Acrylic Drawings

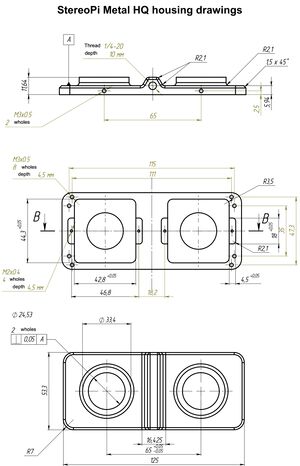
StereoPi Metal HQ housing drwaings

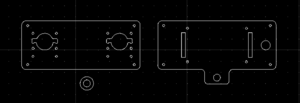
Acrylic backplate for the Metal HQ Housing case assembly

More drawings coming soon